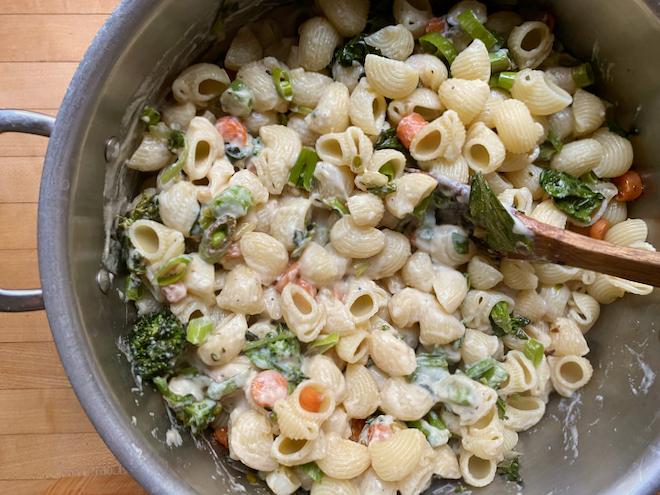
It’s the time of year where the joy of abundance meets occasional panic. Will I get to it before it goes bad?! Can I find new ways of enjoying it in the moment and preserving it for the future? . . . in particular as my teenage son’s tastes change and he dislikes vegetables he used to love . . . Maybe this will be the year he starts liking raw tomatoes!
Are you cooking more these days? Did you plant salad greens and zucchini and now have bolting lettuce and more squash than you know what to do with? Are the greens from your CSA taking up half of your fridge? Do you need simpler preparations for fava beans or fennel?
As we’ve been quasi-quarantined for months now I’ve so enjoyed sharing the cook-with-what-you-have MO: a well-stocked pantry, fewer trips to the store, less food waste and more quick, creative, delicious and nutritious meals.
This note just landed in my in-box from a long-time subscriber to my site:
“This (spicy stir-fried noodles) is yet another in what seems like an infinitely long string of wonderful, flavor-bursting recipes from Katherine. I am remiss for not commenting individually on each of them! But suffice it to say that when my wife and I see a recipe that looks interesting, we quickly scan it for the flavor additives. This often seems to reveal how we’re going to like it, before going to all the effort buying the ingredients and trying it out. With Katherine’s recipes, we long ago stopped this pre-scanning step. If it looks good at first blush, we know it will be wonderful, and proceed to fold it into the week’s menus. And it always is! Also long ago, we stopped all our recipe (magazine) subscriptions. We now only need one, Cook with what you have!”
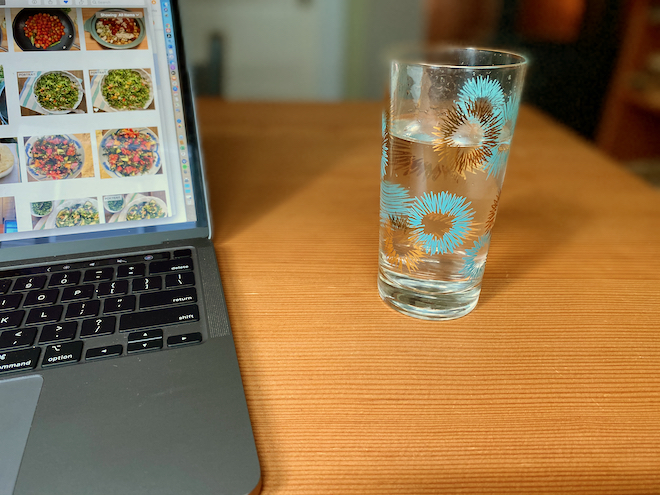
As of today there are 1000 recipes on my site! I’ve poured almost a dozen years into this business and the breadth and depth and beauty of vegetables (and fruit and lots of other ingredients) is not nearly exhausted.
And I want you to subscribe to Cook With What You Have! I’ve just lowered the annual subscription price to $49.99. The monthly cost is still $5.99 if you just want to try it out. I promise you’ll save more than the subscription cost in a just a week or so of cooking-with-what-you-have!
- I want you to know you can jump on the site 30 minutes before you need to eat and find something that will use what you already have on hand, fill your belly and maybe make you smile.
- I want you to know that all you might need is a big skillet, olive oil and salt and whatever vegetable you have will probably be improved by a little time in that pan!
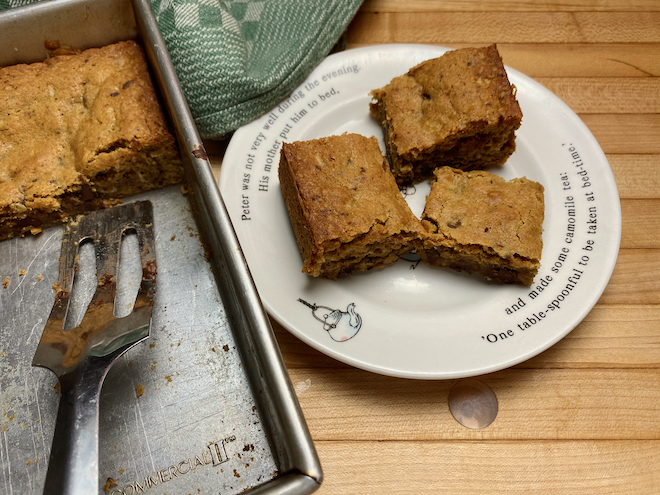
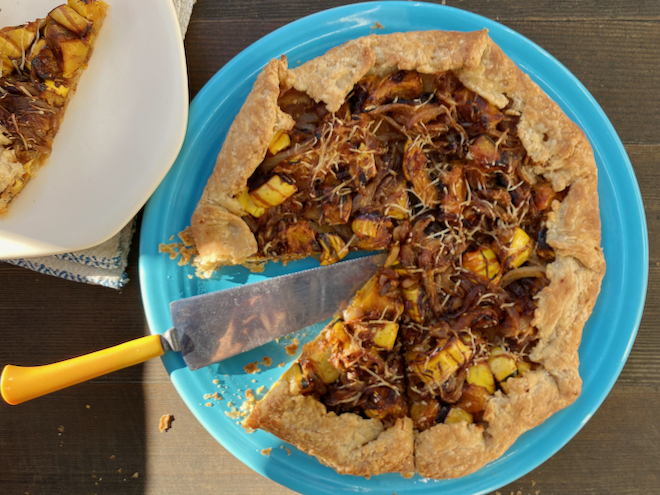
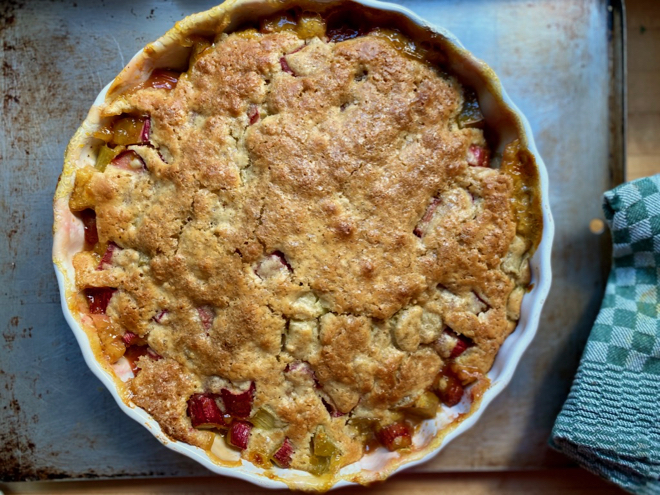
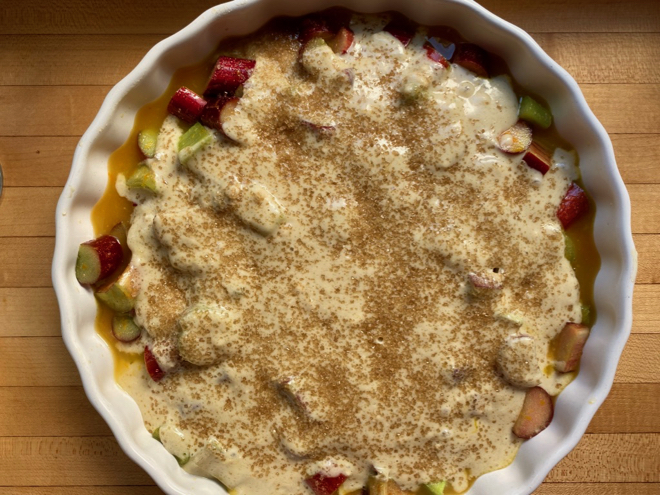
- I won’t list all the fruit desserts that I’ve gathered in a new-ish dessert category but the blackberry slump is a great place to start.
- I want you to know that the joy and ease and fun of cooking with what you have and making it your own will be worth it!
- And there are no ads! No pop-ups blocking ingredient lists or reviews, just straight up recipes and more and more beautiful photos.
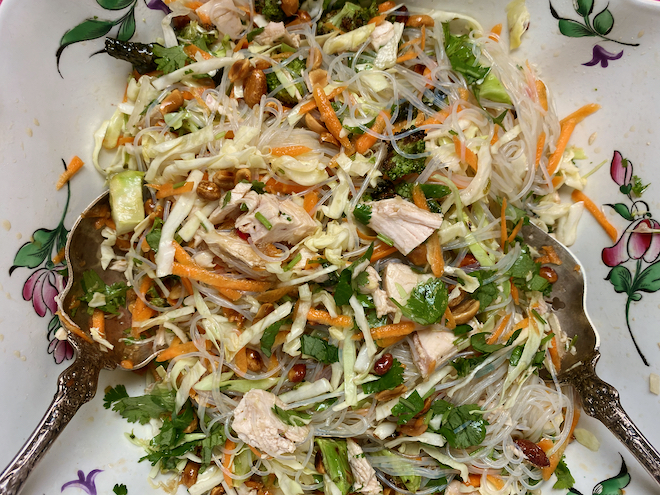
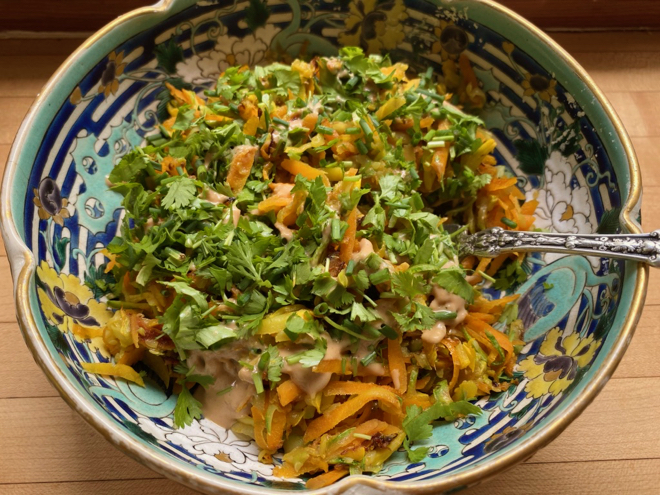
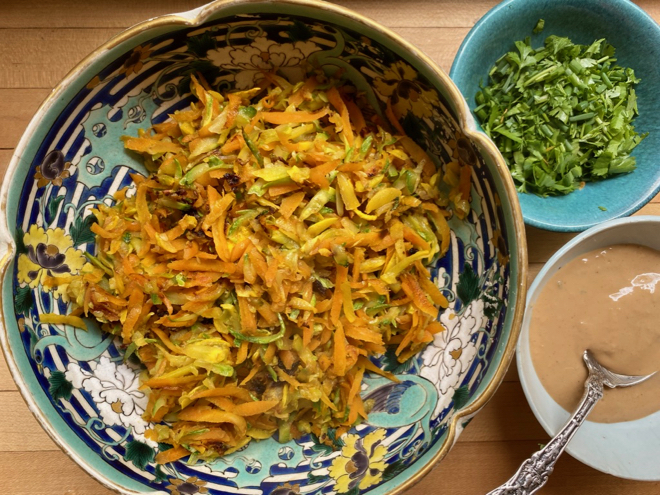
Finally, here’s a template for a crunchy, bright green salad that has been fun to play with for quick lunches or a central part of dinner on hot nights. Add fresh berries or stone fruit and don’t forget those toasted seeds and nuts I’m so passionate about always having on hand. Top it off with lots of mint, basil, parsley, cilantro, dill or any combination thereof!
Happy summer and happy cooking!
With love and in solidarity,
Katherine
*** I am keenly aware of how lucky I am to have access to fresh produce AND food should be a right not a privilege. The disparities in access to healthy food, health care and resources are exacerbated by COVID-19 and systemic racism in the US. It’s jarring to write about beautiful greens one minute and read about civil rights abuses the next and I want to acknowledge that here. We all need to be well-nourished to keep fighting for a more just and loving and equitable society. In my region the Equitable Giving Circle is directly empowering BIPOC communities and Salem Harvest is an excellent model of coming together to support food-insecure folks with fresh produce. Civil Eats and Food First and The Counter are all providing excellent reporting on local and systemic food system matters. Check them all out!
Cook-with-what-you-have Green Salad
Salads are superb templates. Sometimes all you need is a few greens lightly dressed. But sometimes a slightly more substantial green salad with crunch, a little sweetness, and maybe a little spice is in order. In the winter you might make this heartier one.
You will need to taste and adjust your version to balance the tart and sweet and crunch as ingredients vary widely. Add a pinch of sugar if your dried fruit is quite tart.
Variations
- Use thinly sliced sweet peppers, snap or snow peas, kohlrabi, celery or cucumbers instead of or in addition to the carrots.
- Add a handful of halved cherry tomatoes.
- Use whatever toasted seeds or nuts (roughly chopped) you have.
- Substitute large, toasted bread crumbs or small croutons for the nuts/seeds
Serves 4
8 cups romaine or other head lettuce of your choice or a combination of arugula and lettuce
2 medium carrots, grated
2 scallions, white and green parts very thinly sliced
1/2 cup tender herbs like basil, parsley, cilantro, roughly chopped
1/2 cup toasted almonds, hazelnuts, walnuts, peanuts or pecans, roughly chopped or pumpkin or sunflower seeds
1/3 cup dates, chopped (or dried apricots, cranberries, golden raisins)
1 teaspoon minced fresh jalapeno or other fresh hot pepper (or add some chili flakes or dried chili to the dressing)
Dressing:
1 tablespoon red wine vinegar (or vinegar of your choice or lemon juice), more to taste
3 tablespoons olive oil, more to taste
Salt and freshly ground pepper, to taste
Put all the salad ingredients in a large bowl. Add vinegar, oil and salt and pepper and toss well, taste and adjust seasoning. Serve immediately.