I’ve been testing recipes on my Seasonal Recipe Collection that do not have photos. They don’t have any, either because I wrote them long before I launched this part of the site and was not so focused on images, or in some cases because I wrote the recipe without actually making the dish. Yes, there are a few of those on the site . . . I only write and post recipes I know will stand a very good chance of working and being tasty (though people’s tastes do vary widely) even if I haven’t made the dish exactly as written.
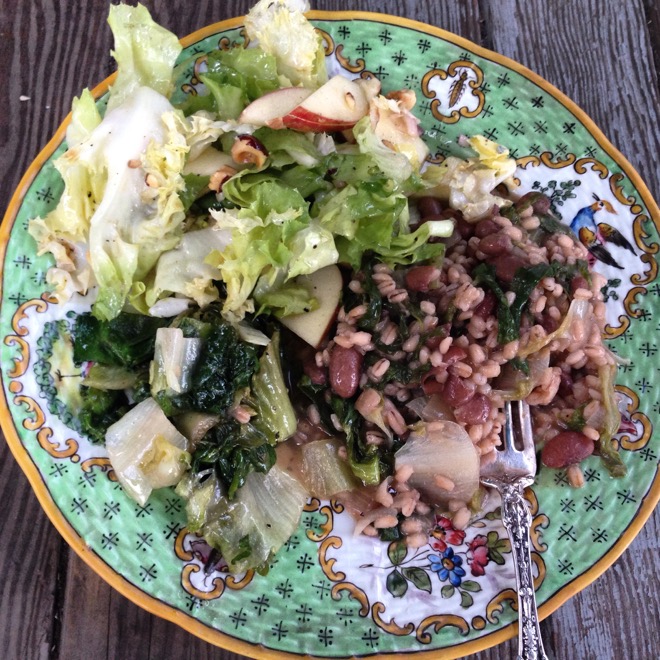
It’s been so fun to work my way through the site as vegetables come into season and I take advantage of testing as many things as possible with, say Anaheim or poblano peppers or escarole or beets. Last week we had escarole three ways for dinner–wilted; in a barley risotto with red beans; and in a salad with toasted filberts, apples and blue cheese.
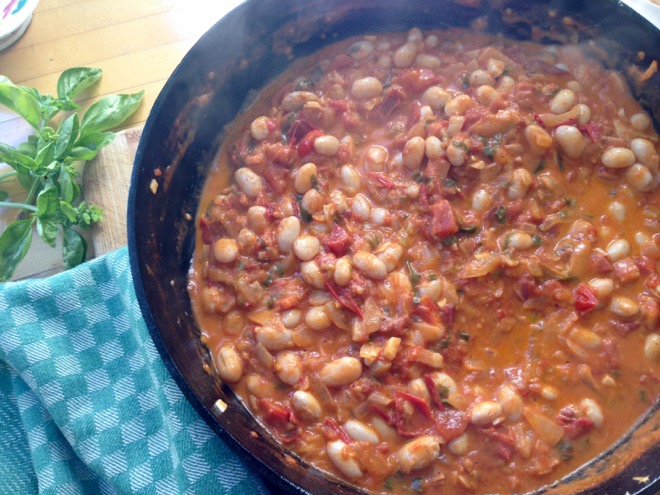
I’m often able to make three, sometimes four dishes in one afternoon and get them photographed and the recipes edited and images uploaded before I go to bed. My point is, cooking through recipes that I wrote this time of year (in years past) does not mean lots of trips to the store. I stumbled upon shelling beans at my local market recently and remembered that I had several dishes with shellies that needed re-testing and photographing. I headed home and tested an old pasta dish (inspired by a decade-old Pastaworks newsletter) with a shelling bean, tomato, bacon and basil sauce. The tomatoes and basil were in the garden, the bacon in the freezer and the pasta in the pantry. Yes, the original recipe called for fresh egg tagliatelle and pancetta but a box of penne pasta and a few slices of bacon from the freezer were perfect.
Make it your own–all of it! Use the herbs you like or have growing in the garden, skip the lemon and use vinegar. . . whatever it is just make something! And if you haven’t subscribed to the Seasonal Recipe Collection you might check it out. . . it is getting deeper and more colorful everyday and should have some inspiration for everyone!

Green Harissa
Yields about 3/4 cup
2 large Anaheim peppers, roasted under the broiler or directly on a gas flame until blackened and blistered all around and then put in a covered dish to steam and cool
1 Jalapeno pepper, roasted under the broiler or directly on a gas flame until blackened and blistered all around and then put in a covered dish to steam and cool
1 Serrano pepper (the one I used in the photographed version happened to be red)
2 cloves garlic, chopped
1 teaspoon cumin seeds
1 teaspoon caraway seeds
1 teaspoon coriander seeds
1/2-1/3 cups cilantro, chopped (including stems and roots if you have them)
2 tablespoons mint leaves
Salt
2 tablespoons olive oil
1-2 teaspoons lime or lemon juice (just to brighten things up a bit–start with 1 teaspoon)
Toast the seeds in a small, dry skillet for about 2-3 minutes on medium heat until fragrant and a shade darker. Put the seeds in a mortar or spice grinder and grind fairly finely.
When the roasted peppers are cool enough to handle, peel and deseed them (or leave the seeds in for more spice) and roughly chop. Chop the fresh (un-roasted) Serrano as well. Put all the peppers in a food processor with the garlic, herbs, ground spices, oil and salt. Process until smooth. Taste and add lime/lemon juice to taste. Store in the refrigerator for up to a week.
Serve it with meat, fish, eggs, grains, beans or any way you would use regular harissa.


Peggy says:
Green Harissa! I can hardly wait to try it!
cookwithwhatyouhave says:
It’s so good. I’ve been putting it on everything; sandwich spread, with eggs, on salmon (originally) and then I used the last tablespoon or two when I was making Caldo Verde the Portuguese Cabbage, Chorizo and potato soup. I added it to the sautee-ing onions. Delish!